Makes 4 loaves
The greatest challenge posed by the making of this loaf is not to eat the sweet, grainy puree by the spoonful before it even touches a grain of flour. Apart from that, it’s simple really. I am dying to incorporate this puree into a praline ice cream, or use it as a filling for alternative Chelsea
For the hazelnut puree:
300g hazelnuts
100g salted butter, melted
150g maple syrup
50ml double cream
For the dough:
1.4ltr tepid water
50g fresh yeast, or 28g of dried
3tbsp sea salt
2kg strong white flour
For the crust:
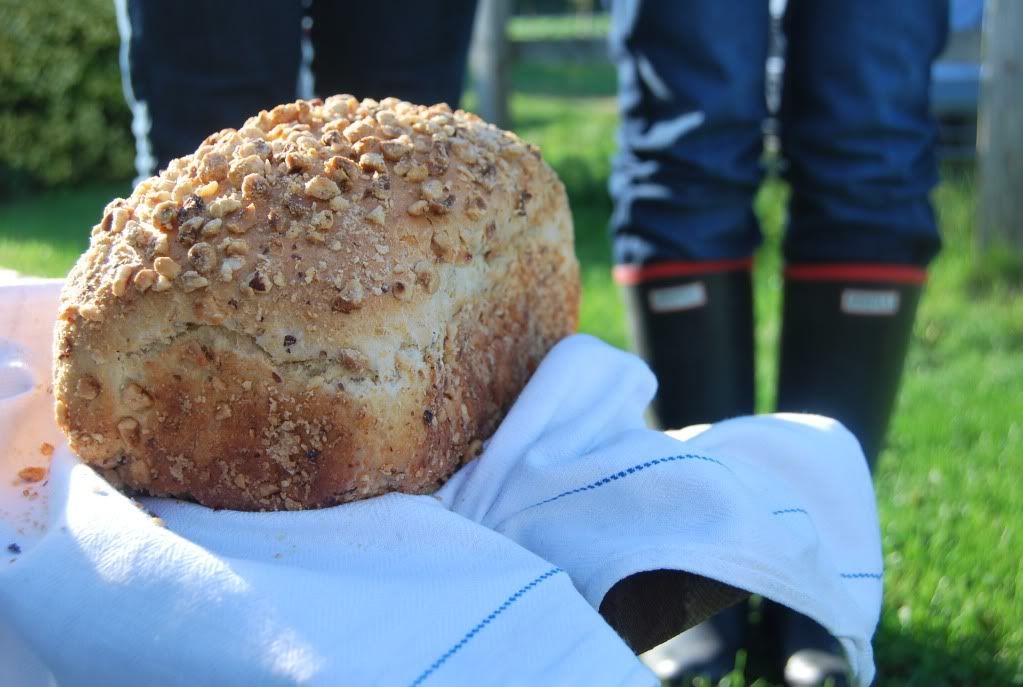
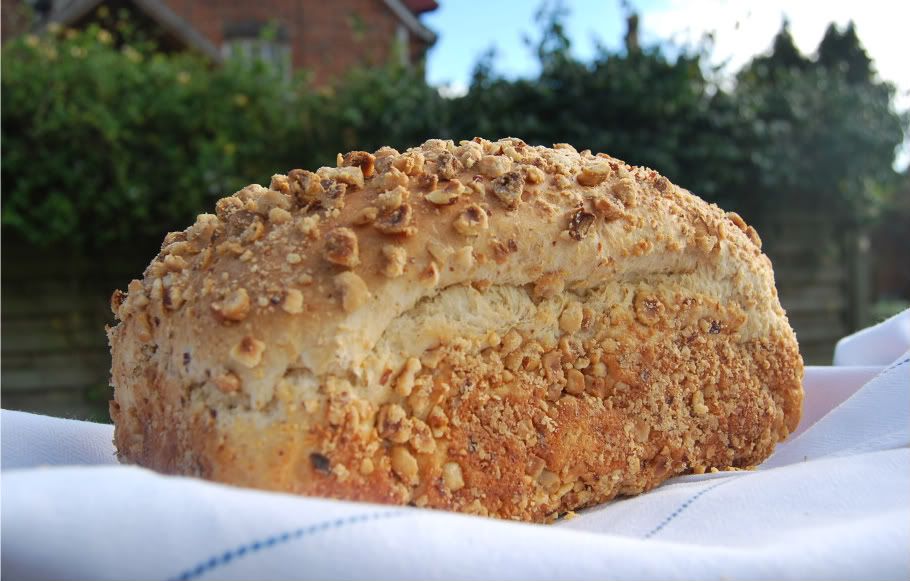
200g hazelnuts
a little milk
Pulse the 200g of hazelnuts for the crust in a food processor until very roughly chopped. Tip out and set aside. Add all of the puree ingredients to the processor and blitz to a course paste. Dissolve the yeast in the water and then whisk in the puree. In a large bowl combine the salt and flour, then add the wet ingredients to the dry. Mix to a rough dough, cover and leave for 10 minutes. Knead lightly on an oiled work surface, ending with the dough in a smooth ball. Leave for another ten minutes then knead. Repeat this process. Leave for 1 hour. Divide the dough into 4 pieces, and shape each individual piece into a ball. Cover and leave for 10 minutes.
Lay a clean tea-towel flat on the work surface and spread the remaining 200g of crushed hazelnuts onto it. Take one ball of dough, and seam side up, flatten slightly. Fold the top edge down into the centre, and the bottom edge up to meet it. Lightly roll until the correct length for your 2lb loaf tins. Pick the loaf up gently by the under-seam, and turn over so the smooth top side is exposed. Brush evenly all over with a little milk, then roll back and forth across the tea-towel until well-covered with hazelnuts. Place in a buttered tin. Repeat with the rest of the loaves. Leave for 30 minutes in a warm place. Bake at 200˚c for 15 minutes, then 180˚c for 45 minutes. Keep a look out in case the hazelnuts on top start to darken too much; if this happens, just cover the loaf with some foil and continue baking. Leave for an hour before slicing.
N.B. Because this is a well-yeasted, reliable dough, if more convenient you can forget about the kneading times above, and replace with an initial 5 minute knead. After leaving for 1 hour, knock back and shape, then prove for 30 minutes as above.