Went foraging for the last few blackberries yesterday afternoon, accompanied by a very determined Dan. They are scarce to say the least now, as the October chill fills the air, but we heroically rose to the challenge; scouring the tops of hedgerows on tip toes, fearlessly battling nettles and brambles with freezing fingers and stinging wrists, all in pursuit of these shining, jet black jewels. It was a risky business, but one which will hopefully be appreciated by those who order the pannacotta with steeped wild blackberries.
My loaf this week is the one I have been most excited about, purely because it started life as a kind of science experiment, and I really wasn’t sure if it would work let alone taste good. I have made bread using a beer barm before, allowing beer and flour to ferment and create a natural leaven. However, as a dedicated cider drinker, I wanted to see if I could do the same with my beverage of choice. At the Pot Kiln we don’t have any ‘dirty’ ciders, and by that I mean proper, thick, sedimenty scrumpy, so hedging my bets and using our cider on tap, I added raisins to the mix. My hope was that the small amount of yeast on their surface would kick-start the fermentation process. After the barm was made, (and had suffered dubious looks from those sceptics who witnessed the stodgey mass being plonked into a kilner jar), it was put behind the bar, out of the kitchen heat. After a couple of days of hopeful check-ups, my patience paid off; bubbles began to appear and the volume increase, just like a beer barm.
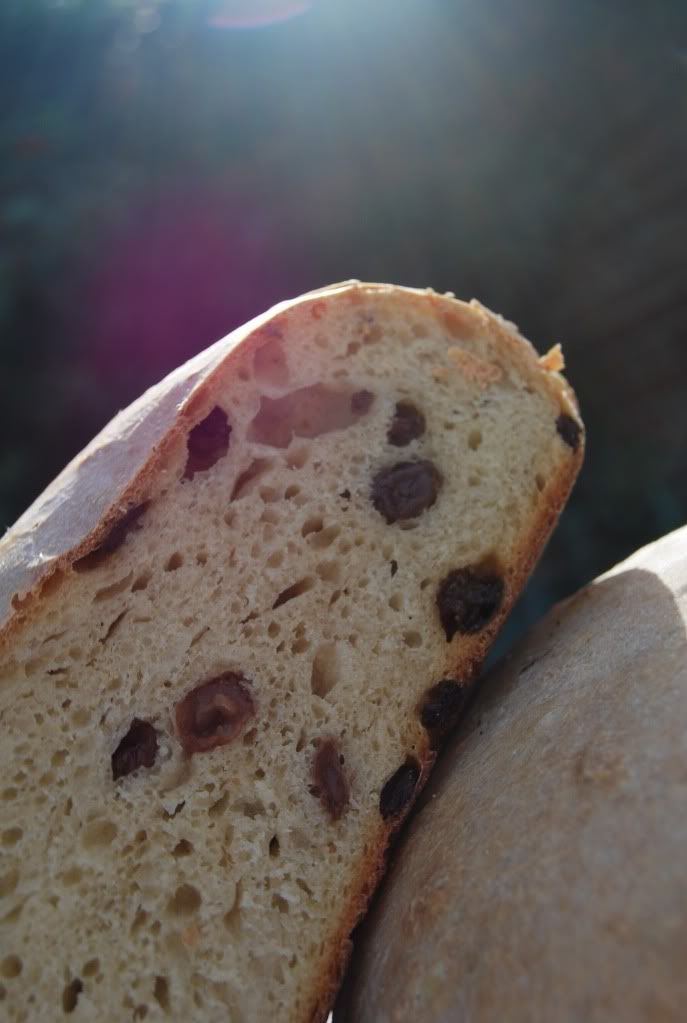
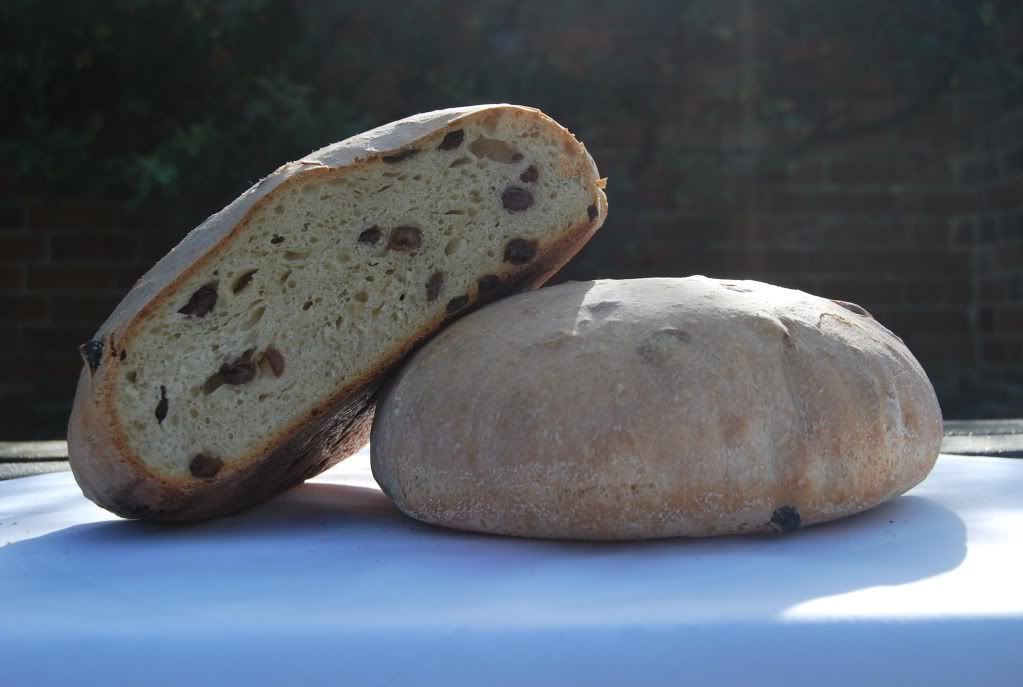
The loaf itself is naturally leavened, which means it contains no added yeast whatsoever, and rises only because of the natural yeasts in the other ingredients. This means it needs a comparatively long time to prove even after the barm is ready, but the flavour is unsurpassable and you’ll find it keeps for much longer.
The Barm
1pt cider, preferably English
200g raisins, preferably organic
80g strong white flour
3tbsp leaven (I used rye)
The Bread
1.2 ltr ambient water
2kg strong white flour
8tsp sea salt
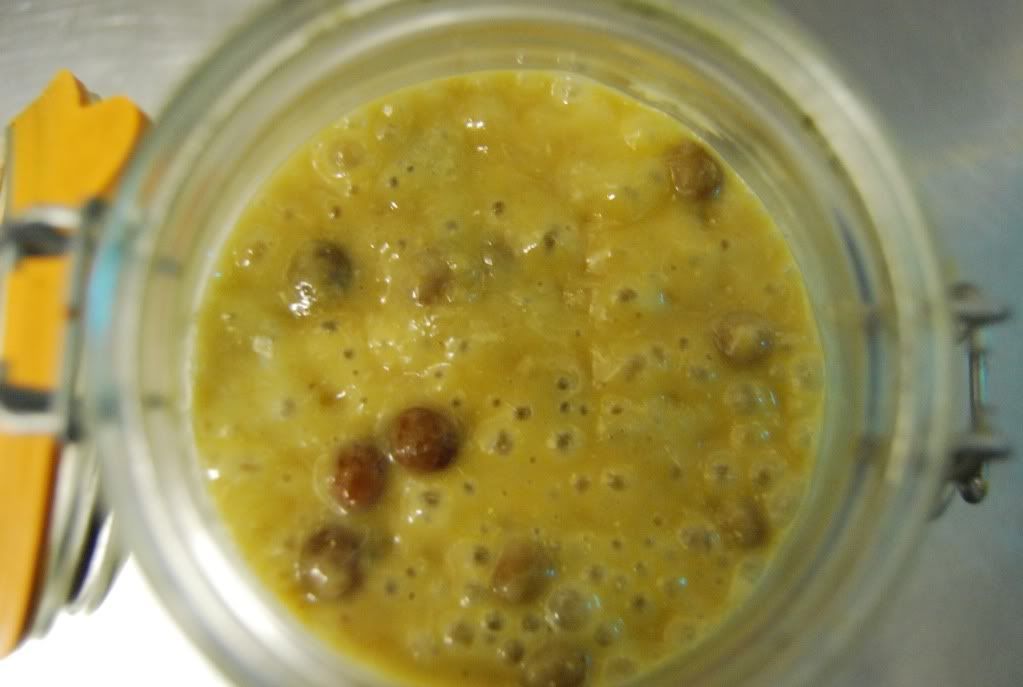
Heat the cider and raisins in a pan up to 70˚c (any more will kill the natural yeast). Take off the heat and add the flour in a steady stream, whisking all the time. It will go lumpy no matter what, just make sure the lumps aren’t too big. Leave to come back to room temperature, around 20˚c, then stir in the leaven. Pour into a sealable jar, and leave at room temperature, out of draught and hot air currents, for no less than 48 hours, until the volume has increased and bubbles are breaking the surface. If it needs 12 or 24 hours more then just give it time. It should look like the photograph below.
When ready, pour the entire contents of the jar into a large bowl. Whisk in the water. Mix the flour and salt, then add to wet ingredients and combine. Leave for 10 minutes. Turn out onto an oiled surface and knead briefly, ending with the dough in a ball. This is another wet dough, so a dough scraper is useful at this point. Cover with the upturned bowl and leave for 10 minutes. Repeat the kneading process, leave for another 10 minutes and knead again. Leave for half an hour or so and knead again, by which time the dough should be a lot more manageable. Now knead and leave for an hour. Then divide the dough into 4, shape into balls and place on separate semolina-dusted trays, leaving ample room for expansion. The dough should hold its shape well at this stage, and stand proudly. Cover with tea towels and leave for between 5 and 8 hours, depending on your schedule. I leave mine overnight in the coolest part of the kitchen, but a pantry would also be good. Natural leavens tend not to like the warmer places you might usually prove bread, such as airing cupboards or agas.
The next morning, or after the long prove, spritz the loaves with water and bake at 220˚c for 15 minutes, then 200˚c for 45 minutes. The loaves should be golden all over and feel light when lifted. The texture should have great deep holes and spring back to form even when pressed hard.
A word on kneading....
This kneading schedule is only a guide and of course is not always possible if you want to have a life as well as bake a loaf of bread. The basic idea is short kneads (I aim for 5 or 6) occurring frequently at first then at steeply increasing increments, instead of one simple knocking back. It is less labour-intensive, and good if you can be in the kitchen all day, but does take a long period of time overall. Just fit the loaf around you, and if you need to leave it longer, regulate proving though temperature and place the dough somewhere cooler. As Dan Lepard says, ‘All breads can only be made if they suit the time you have available, whether in a bakery or in your home’.
I like your use of semi-colons in this one Kate; magnificent! See you day after day after tomorrow!
ReplyDelete